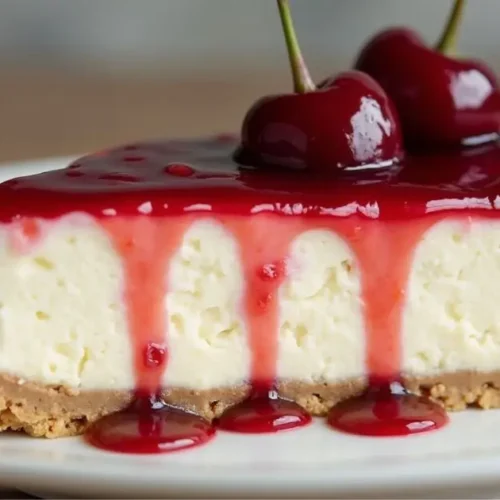
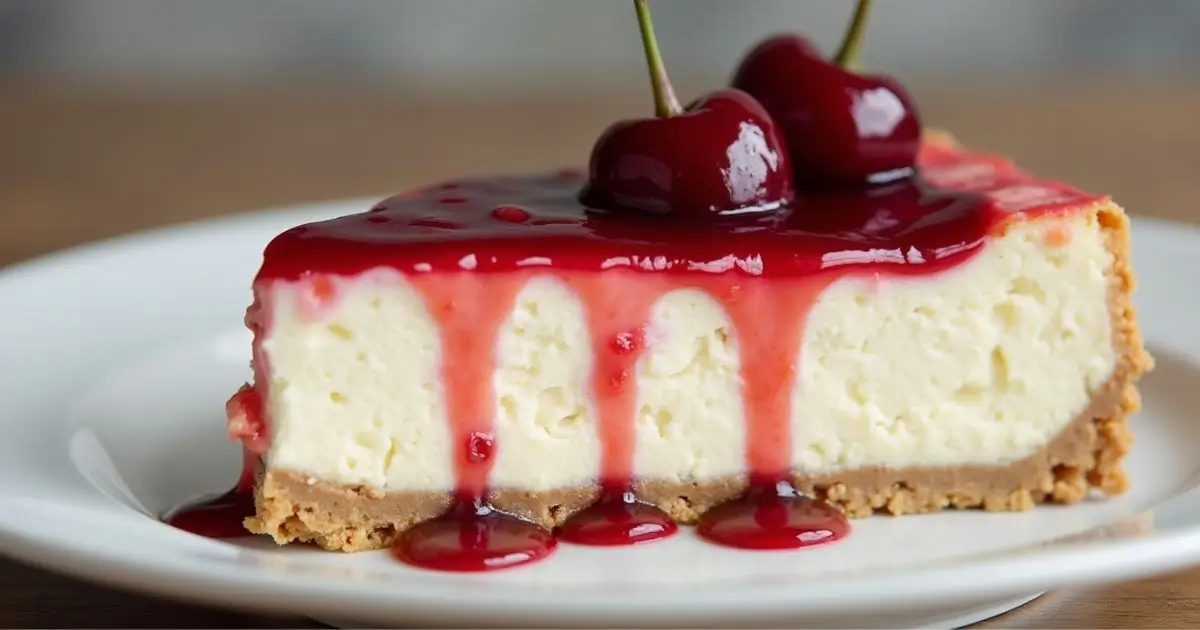
Who doesn’t love a dessert that’s effortlessly delicious and perfect for any occasion? This Best No Bake Cherry Cheesecake is everything you crave in a treat: creamy, sweet, and bursting with cherry goodness—all without needing to turn on the oven! Whether you’re hosting a dinner party, celebrating a special occasion, or simply indulging in a well-deserved dessert, this no-bake cheesecake is the ultimate crowd-pleaser.
With its buttery graham cracker crust, velvety cream cheese filling, and luscious cherry topping, it’s a foolproof recipe that even beginners can master. Plus, it’s quick to prepare and easy to customize, making it the ideal choice for busy home cooks or those new to the kitchen. Ready to create your new go-to dessert? Let’s dive in!
Key Benefits of This No Bake Cherry Cheesecake
This no-bake cherry cheesecake isn’t just a recipe—it’s a game-changer in your dessert repertoire. Whether you’re new to the kitchen or a seasoned pro, here’s why you’ll love it:
- Quick and Easy: With no baking required, this recipe saves time and effort, making it perfect for busy days or last-minute gatherings.
- Fail-Proof for Beginners: The straightforward steps ensure anyone can achieve a creamy, luscious cheesecake with minimal stress.
- Versatile and Customizable: Don’t have cherries? Swap them for blueberries, strawberries, or even a drizzle of caramel for a fun twist.
- Ideal for Any Occasion: From summer picnics to holiday feasts, this cheesecake suits any celebration—or a cozy night in.
- Make-Ahead Friendly: Prep it the night before, so it’s ready to wow your guests when the party starts.
Whether you’re looking for a dessert that impresses or simply craving something indulgent, this no-bake cherry cheesecake ticks all the boxes. Once you try it, it’s sure to become a favorite in your home!
Ingredients You’ll Need
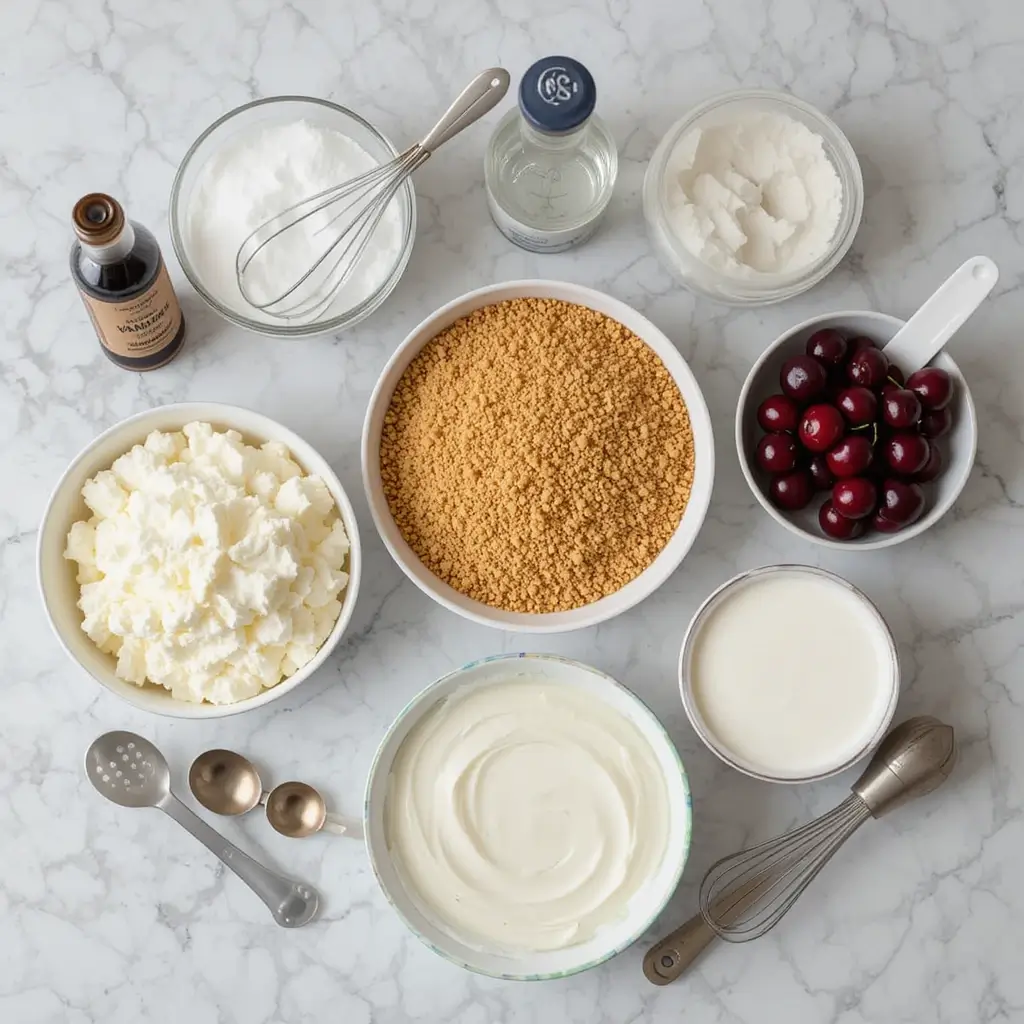
Gathering the right ingredients is the first step to creating this dreamy no-bake cherry cheesecake. Here’s everything you’ll need:

For the Crust
- 1 ½ cups graham cracker crumbs: Provides that classic buttery, slightly sweet base.
- ⅓ cup melted unsalted butter: Helps bind the crust while adding richness.
- 2 tablespoons granulated sugar: Enhances the flavor of the crust.
For the Cheesecake Filling
- 16 ounces cream cheese, softened: The star of the show! Use full-fat for the creamiest texture.
- 1 cup powdered sugar: Creates a smooth, sweet filling without any grittiness.
- 1 teaspoon vanilla extract: Adds a warm, aromatic note to the cheesecake.
- 1 ½ cups heavy whipping cream, chilled: Whipped to perfection for a light and airy texture.
For the Cherry Topping
- 1 can (21 ounces) cherry pie filling: The easiest way to achieve that luscious, glossy topping.
- Optional: Use fresh cherries for a more natural twist, sweetened with a touch of sugar.
Ingredient Notes and Tips
- Graham Cracker Substitutes: Can’t find graham crackers? Crushed digestive biscuits or vanilla wafers work perfectly.
- Dairy-Free Options: Swap cream cheese and heavy cream with plant-based alternatives for a vegan version.
- Fresh Toppings: Feel free to get creative! Blueberries, raspberries, or even shredded chocolate make fantastic alternatives to cherries.
With these ingredients, you’re just a few simple steps away from a show-stopping dessert. Make sure to have everything ready before you dive in for a seamless, stress-free experience!
Kitchen Equipment You’ll Need
Having the right tools on hand can make preparing this no bake cherry cheesecake a breeze. Here’s what you’ll need to ensure a smooth and enjoyable process:
Essential Tools
- Mixing Bowls: A few medium to large bowls for combining the crust, filling, and topping.
- Electric Hand Mixer or Stand Mixer: Crucial for whipping the cream to fluffy perfection and blending the cream cheese until smooth.
- Rubber Spatula: Perfect for scraping down the sides of bowls and evenly spreading the filling.
- Springform Pan (9-inch): Ensures easy removal of the cheesecake for a professional-looking presentation.
- Measuring Cups and Spoons: Precise measurements are key to getting the perfect texture and flavor.
Optional but Helpful
- Food Processor: Speeds up the process of turning graham crackers into fine crumbs for the crust.
- Parchment Paper: Line the bottom of the springform pan to prevent sticking and make cleanup easier.
- Offset Spatula: Handy for achieving a smooth, even surface on the cheesecake filling.
Pro Tips for Using Your Tools
- Room Temperature Ingredients: Let your cream cheese soften before mixing to avoid lumps. A hand mixer makes this step quicker and easier.
- Chill the Bowl: For whipping cream, use a chilled bowl and beaters to help it hold its shape better.
- Springform Pan Substitute: Don’t have one? A deep pie dish works in a pinch—just serve directly from the dish.
With this equipment ready to go, you’re set to create a no bake cherry cheesecake that looks and tastes like it came straight out of a bakery!
Step-by-Step Instructions
Let’s walk through how to make this dreamy no bake cherry cheesecake step by step. Each stage is simple and straightforward, so you’ll have a stunning dessert ready in no time!

1. Prepare the Crust
- In a mixing bowl, combine graham cracker crumbs, melted butter, and sugar. Stir until the mixture resembles wet sand.
- Press the mixture firmly into the bottom of a 9-inch springform pan, creating an even layer. Use the back of a spoon or the bottom of a glass for best results.
- Place the crust in the refrigerator to chill while you prepare the filling.
2. Make the Cheesecake Filling
- In a large mixing bowl, beat the softened cream cheese and powdered sugar together until smooth and creamy.
- Add the vanilla extract and mix until fully incorporated.
- In a separate chilled bowl, whip the heavy cream with an electric mixer until stiff peaks form. Be careful not to overmix.
- Gently fold the whipped cream into the cream cheese mixture, being careful to maintain its airy texture.
3. Assemble the Cheesecake
- Spoon the cheesecake filling onto the chilled crust, spreading it evenly with a spatula. Smooth the top for a clean finish.
- Cover the pan with plastic wrap and refrigerate for at least 4-6 hours, or overnight for the best texture and flavor.
4. Add the Cherry Topping
- Once the cheesecake is fully set, remove it from the springform pan and place it on a serving plate.
- Spoon the cherry pie filling evenly over the top, allowing some cherries to drip over the edges for a beautiful finish.
Helpful Tips
- For Easy Removal: Run a knife along the edge of the pan before releasing the springform to prevent sticking.
- Chill Time: Don’t rush this step! Allowing the cheesecake to set properly ensures a firm, sliceable texture.
- Customize Your Topping: Prefer fresh cherries? Combine them with a little sugar and lemon juice for a homemade alternative.
Follow these simple instructions, and you’ll create a no-bake cherry cheesecake that’s as delicious as it is impressive!
Pro Tips and Variations
Mastering this no-bake cherry cheesecake is easier with a few insider tricks and creative variations. Whether you’re looking to elevate the flavor or tailor it to your preferences, these tips will help you achieve cheesecake perfection!
Pro Tips for the Perfect Cheesecake
- Achieve a Smooth Filling: Make sure your cream cheese is fully softened before mixing to avoid lumps. If needed, let it sit at room temperature for 30 minutes before starting.
- Don’t Skip the Chill Time: Patience is key! Refrigerate the cheesecake for at least 6 hours to ensure it sets properly. Overnight chilling yields the best results.
- Prevent a Soggy Crust: Press the graham cracker mixture firmly and evenly into the pan to avoid any loose crumbs or uneven layers.
- Tidy Slices Every Time: Use a sharp knife dipped in warm water to cut clean slices. Wipe the blade between cuts for a polished presentation.
Creative Variations to Try
- Chocolate Twist: Swap graham crackers for chocolate cookies, and drizzle melted dark chocolate over the cherry topping for a decadent touch.
- Tropical Flavor: Use crushed digestive biscuits for the crust and top the cheesecake with pineapple or mango instead of cherries.
- Berry Medley: Combine cherries, raspberries, and blueberries for a vibrant, multi-berry topping.
- Mini Cheesecakes: Create individual portions by using cupcake liners and dividing the crust and filling among a muffin tin. These are perfect for parties!
- Gluten-Free Option: Replace graham crackers with gluten-free cookies or finely ground nuts like almonds or pecans for the crust.
Why These Variations Work
These ideas not only add variety but also cater to different tastes and dietary needs. They ensure your cheesecake stands out, whether served at a casual family gathering or a formal celebration.
With these tips and variations, you can make this no-bake cherry cheesecake truly your own, while impressing everyone who takes a bite!
Serving Suggestions
Serving your no-bake cherry cheesecake is an opportunity to add the finishing touches that will make it look as good as it tastes! Whether you’re hosting a dinner party or enjoying a quiet night in, these ideas will elevate your cheesecake presentation and enhance the overall experience.
Simple Yet Elegant
- Garnish with Fresh Whipped Cream: Add a dollop of homemade whipped cream on each slice for a light, creamy contrast to the rich cheesecake.
- Top with Extra Cherries: Arrange a few whole cherries or even fresh mint leaves for a pop of color and freshness.
- Sprinkle with Crushed Nuts: Walnuts, almonds, or even toasted coconut can add an extra layer of texture and flavor that complements the cheesecake’s creaminess.
Make It a Dessert Buffet
- Create a Cheesecake Bar: Set up a spread of toppings—like chocolate sauce, caramel, or fresh berries—so guests can personalize their slices.
- Pair with Drinks: This cheesecake pairs wonderfully with a cold glass of iced tea or a sweet dessert wine like Moscato.

Perfect for Special Occasions
- Holiday Cheer: Add festive sprinkles or edible glitter for a holiday twist. This cheesecake works well for Christmas, Thanksgiving, or even New Year’s celebrations.
- Celebration Ready: Personalize it for birthdays or anniversaries by adding a sprinkle of colorful confetti or even a birthday candle on top!
Why These Ideas Work
These simple yet effective serving suggestions are all about adding that extra touch of creativity to make your cheesecake shine. Whether you’re hosting a party or serving a casual treat, they bring visual appeal, texture, and flavor balance to each slice.
With these ideas, your no-bake cherry cheesecake is sure to be a hit at any gathering!
Conclusion
Congratulations—you’ve just made the best no bake cherry cheesecake! With its rich, creamy filling and sweet, tart cherry topping, this dessert is bound to become a new favorite in your kitchen. Whether you’re serving it at a party or indulging on a quiet evening, this cheesecake offers a simple, yet indulgent treat that never goes out of style.
Why You’ll Love This Recipe
- No Baking, No Fuss: This recipe is ideal for anyone looking to create a show-stopping dessert with minimal effort.
- Endlessly Customizable: From different crusts to topping variations, you can personalize it to suit any taste.
- Perfect for All Occasions: Whether it’s a holiday gathering, birthday, or casual dinner, this cheesecake fits every event.
Your Next Steps
- Share the Love: If you loved making and eating this cheesecake, be sure to share the recipe with friends and family!
- Explore More: Want to try variations or new flavors? Feel free to experiment with different fruit toppings or flavored crusts to make this cheesecake your own.
With just a few simple ingredients and steps, you’ve created a dessert that’s sure to impress. Enjoy every bite, and happy baking (or no-baking, in this case)!

Best No Bake Cherry Cheesecake recipe
Ingredients
- For the Crust
- 1 ½ cups graham cracker crumbs: Provides that classic buttery slightly sweet base.
- ⅓ cup melted unsalted butter: Helps bind the crust while adding richness.
- 2 tablespoons granulated sugar: Enhances the flavor of the crust.
- For the Cheesecake Filling
- 16 ounces cream cheese softened: The star of the show! Use full-fat for the creamiest texture.
- 1 cup powdered sugar: Creates a smooth sweet filling without any grittiness.
- 1 teaspoon vanilla extract: Adds a warm aromatic note to the cheesecake.
- 1 ½ cups heavy whipping cream chilled: Whipped to perfection for a light and airy texture.
- For the Cherry Topping
- 1 can 21 ounces cherry pie filling: The easiest way to achieve that luscious, glossy topping.
- Optional: Use fresh cherries for a more natural twist sweetened with a touch of sugar.
- Ingredient Notes and Tips
- Graham Cracker Substitutes: Can’t find graham crackers? Crushed digestive biscuits or vanilla wafers work perfectly.
- Dairy-Free Options: Swap cream cheese and heavy cream with plant-based alternatives for a vegan version.
- Fresh Toppings: Feel free to get creative! Blueberries raspberries, or even shredded chocolate make fantastic alternatives to cherries.
Instructions
- Prepare the Crust
- In a mixing bowl, combine graham cracker crumbs, melted butter, and sugar. Stir until the mixture resembles wet sand.
- Press the mixture firmly into the bottom of a 9-inch springform pan, creating an even layer. Use the back of a spoon or the bottom of a glass for best results.
- Place the crust in the refrigerator to chill while you prepare the filling.
- Make the Cheesecake Filling
- In a large mixing bowl, beat the softened cream cheese and powdered sugar together until smooth and creamy.
- Add the vanilla extract and mix until fully incorporated.
- In a separate chilled bowl, whip the heavy cream with an electric mixer until stiff peaks form. Be careful not to overmix.
- Gently fold the whipped cream into the cream cheese mixture, being careful to maintain its airy texture.
- Assemble the Cheesecake
- Spoon the cheesecake filling onto the chilled crust, spreading it evenly with a spatula. Smooth the top for a clean finish.
- Cover the pan with plastic wrap and refrigerate for at least 4-6 hours, or overnight for the best texture and flavor.
- Add the Cherry Topping
- Once the cheesecake is fully set, remove it from the springform pan and place it on a serving plate.
- Spoon the cherry pie filling evenly over the top, allowing some cherries to drip over the edges for a beautiful finish.
Notes
FAQs
Curious about making this no bake cherry cheesecake? Here are some frequently asked questions to help you along the way:
1. Can I make this cheesecake ahead of time?
Absolutely! This cheesecake is a perfect make-ahead dessert. In fact, it sets best when refrigerated for at least 6 hours, but overnight is ideal. This makes it a great option for preparing the day before a party or special event.
2. Can I use a different fruit for the topping?
Yes, you can swap the cherry topping for any fruit you like! Fresh strawberries, blueberries, or raspberries make great alternatives, and you can also experiment with a mixed berry topping for a more colorful presentation.
3. How do I store leftovers?
Store any leftover cheesecake in an airtight container in the refrigerator. It will stay fresh for up to 3-4 days. If you want to keep it longer, you can freeze individual slices. Just wrap them tightly in plastic wrap and foil before freezing. Thaw in the fridge before serving.
4. Can I make the crust gluten-free?
Of course! Simply use gluten-free graham crackers or a gluten-free cookie, like vanilla wafers, for the crust. This makes the cheesecake accessible to those with dietary restrictions without compromising flavor.
5. Can I make this cheesecake without heavy cream?
If you prefer to avoid heavy cream, you can substitute it with a non-dairy option, such as coconut cream, for a similar texture. Just be sure to chill it before whipping for the best results!
6. Can I use a store-bought crust?
Yes, you can definitely use a store-bought graham cracker crust to save time. While homemade is always best, a pre-made crust will still yield a delicious cheesecake with minimal effort.

